Guides for Android
Sections on this page

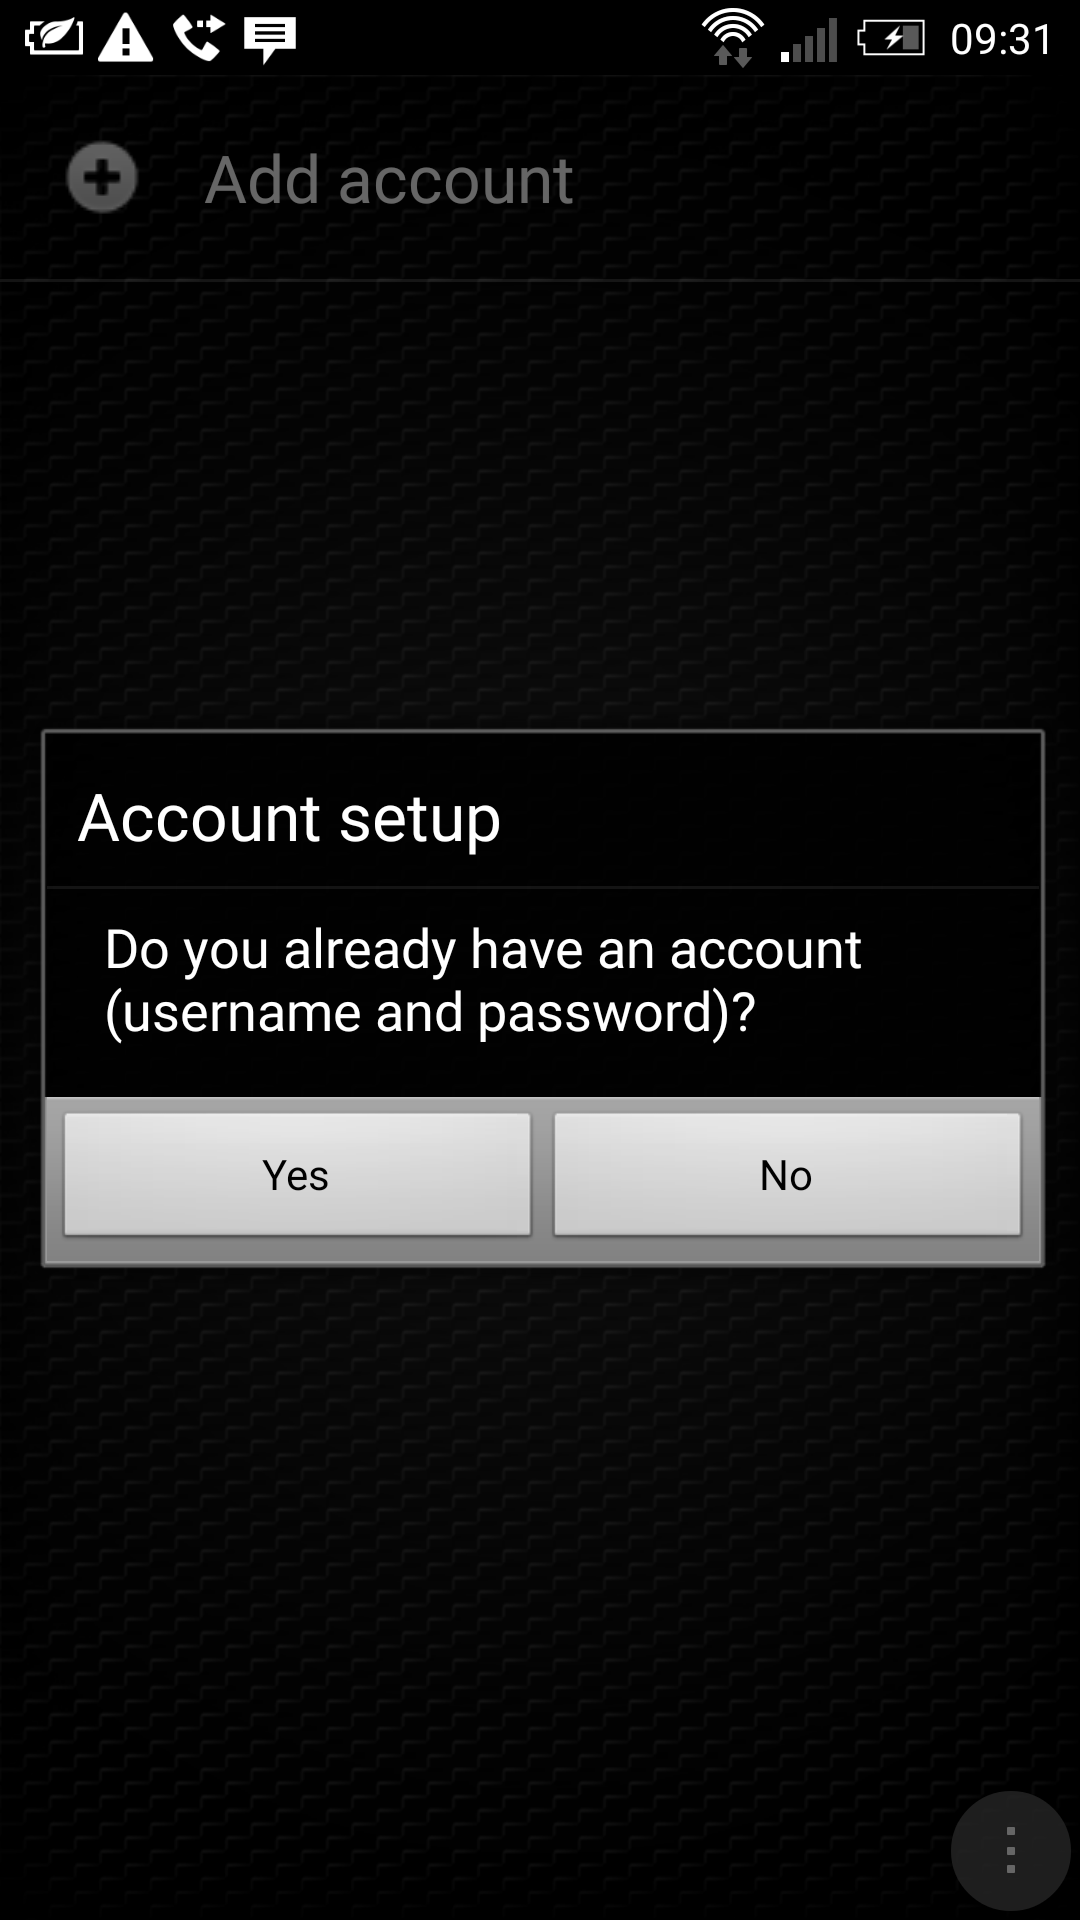
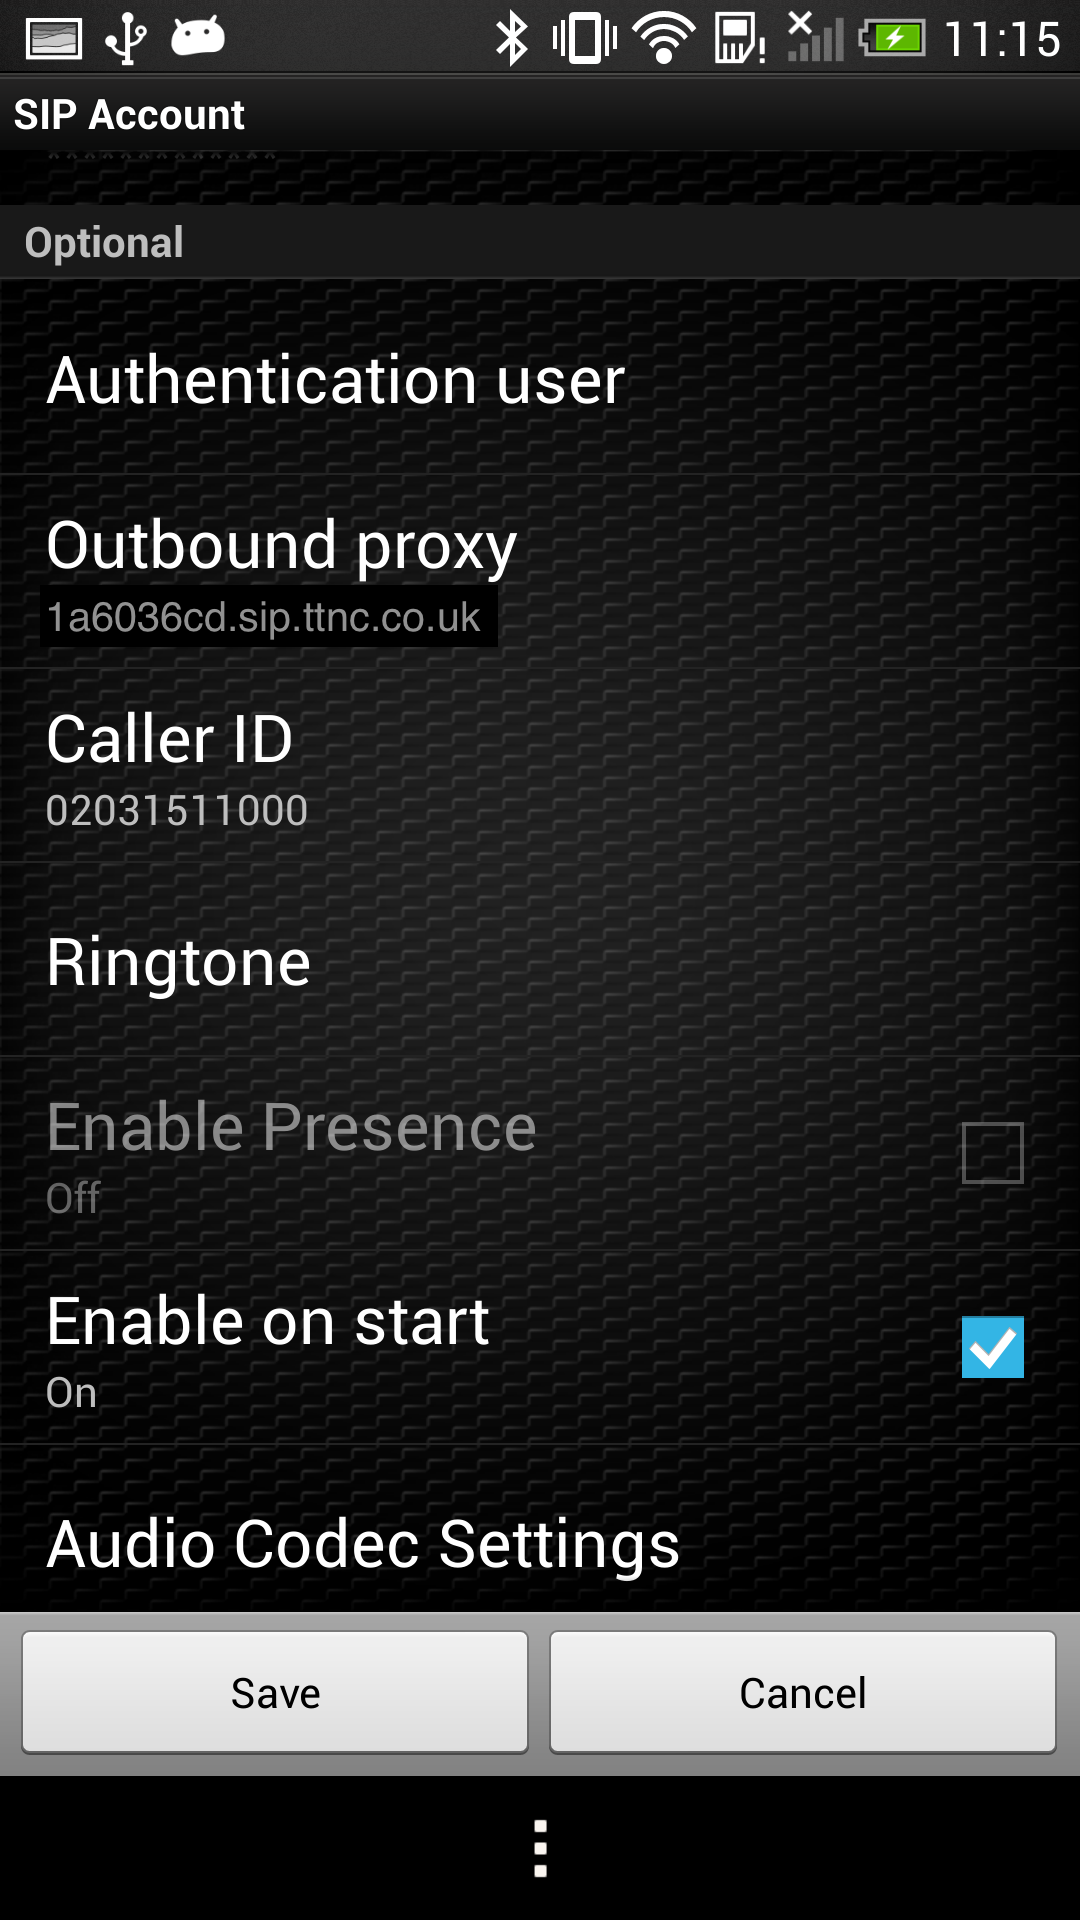
Zoiper
Download Zoiper for Android
Follow the guide below to get up and running with the Zoiper application:
1. Download, install and launch Zoiper.
2. Click the 'Config' tab and then select 'Accounts'.

3. Tap the 'Add account' link.

4. Select 'Yes' as you have an account with TTNC.
5. Select 'Manual configuration' from the list.
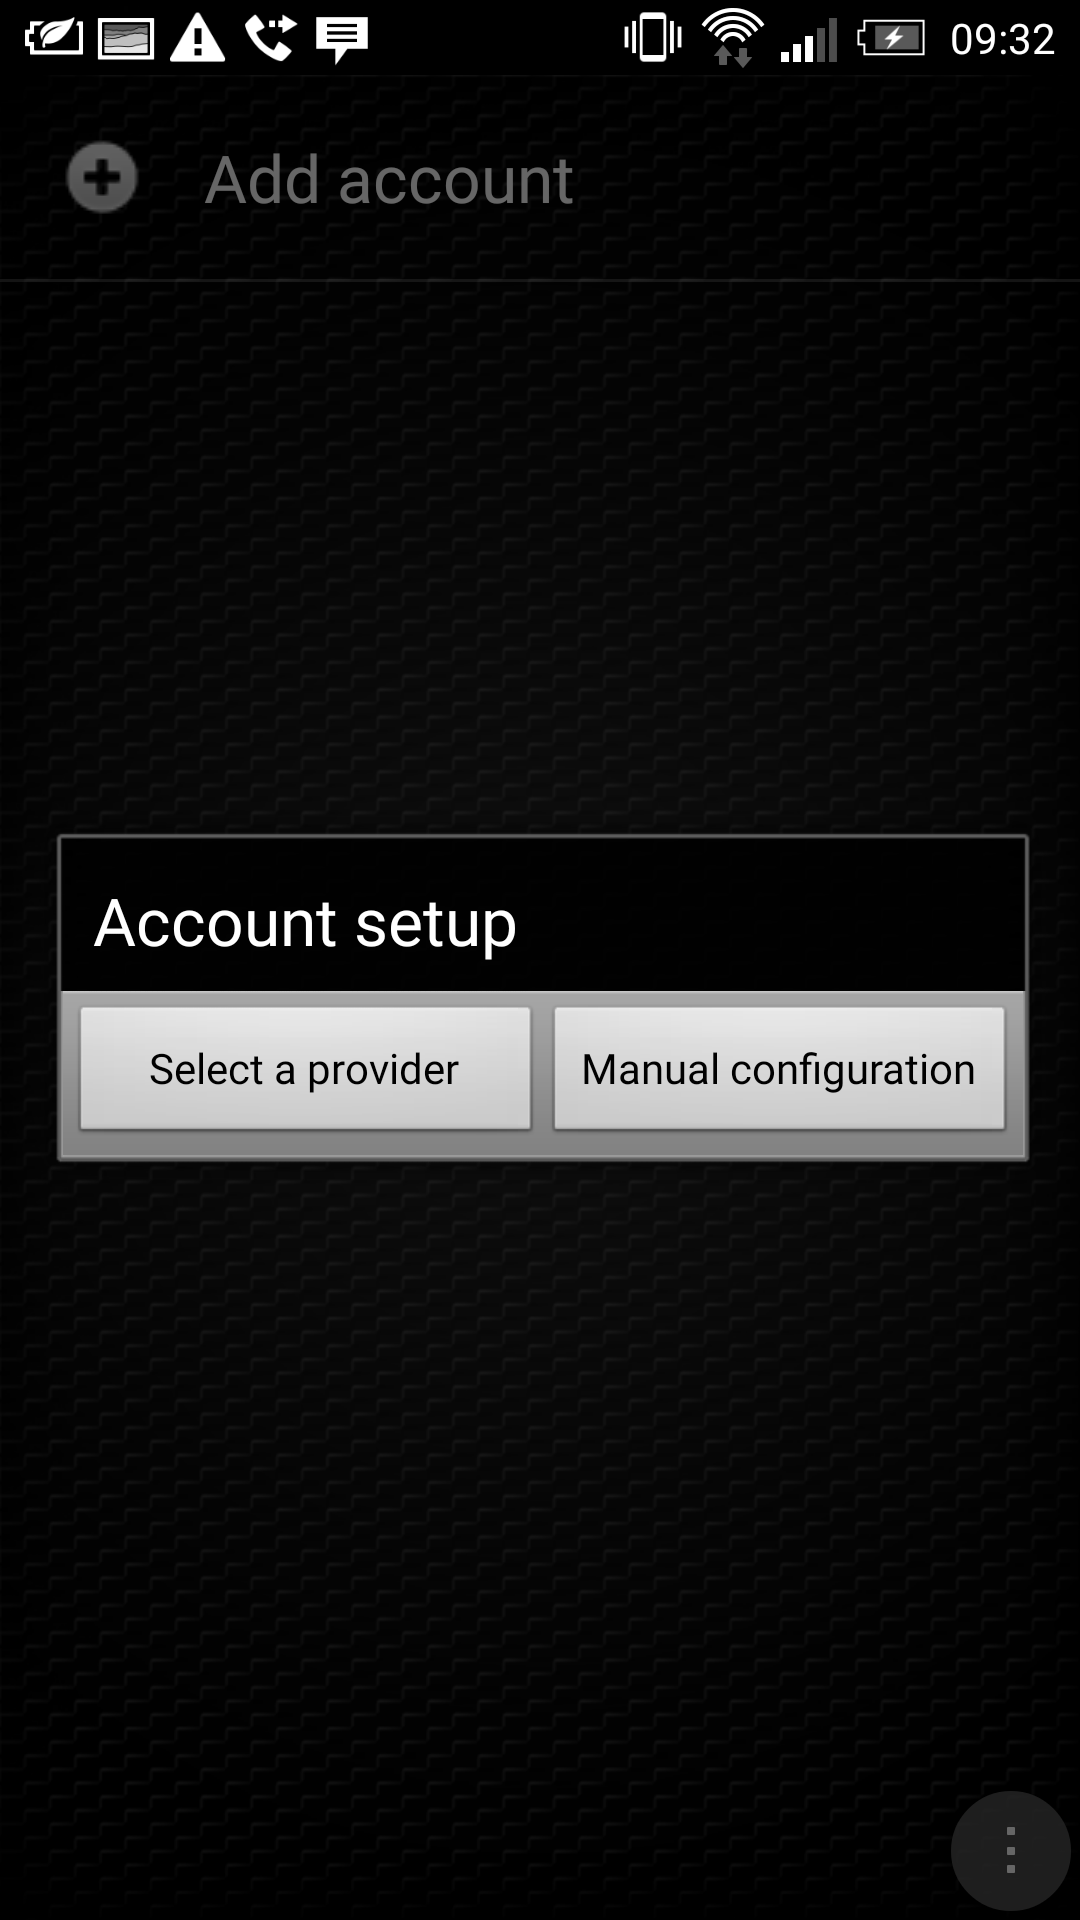
6. Select 'SIP' as the account type.

7. In the 'Account name' field, enter a description for your VoIP User.

8. In the Domain/Host field, enter the domain supplied with your VoIP User (this is case sensitive).

9. In the User name field, enter the username you set up on the VoIP User (this is case sensitive).

10. In the Password field, enter the password you set up on the VoIP User (this is case sensitive).

11. Enter your TTNC number in the Caller ID field.

12. Scroll down to 'Outbound Proxy' and enter the domain supplied with your VoIP User as the host:port.

13. Tap the 'Save' button at the bottom of the screen.

Bria
Download Bria for Android
Follow the guide below to get up and running with the Bria application:
1. Purchase, download, install and launch Bria.
2. Click the 'Settings' tab and then select 'Accounts'.
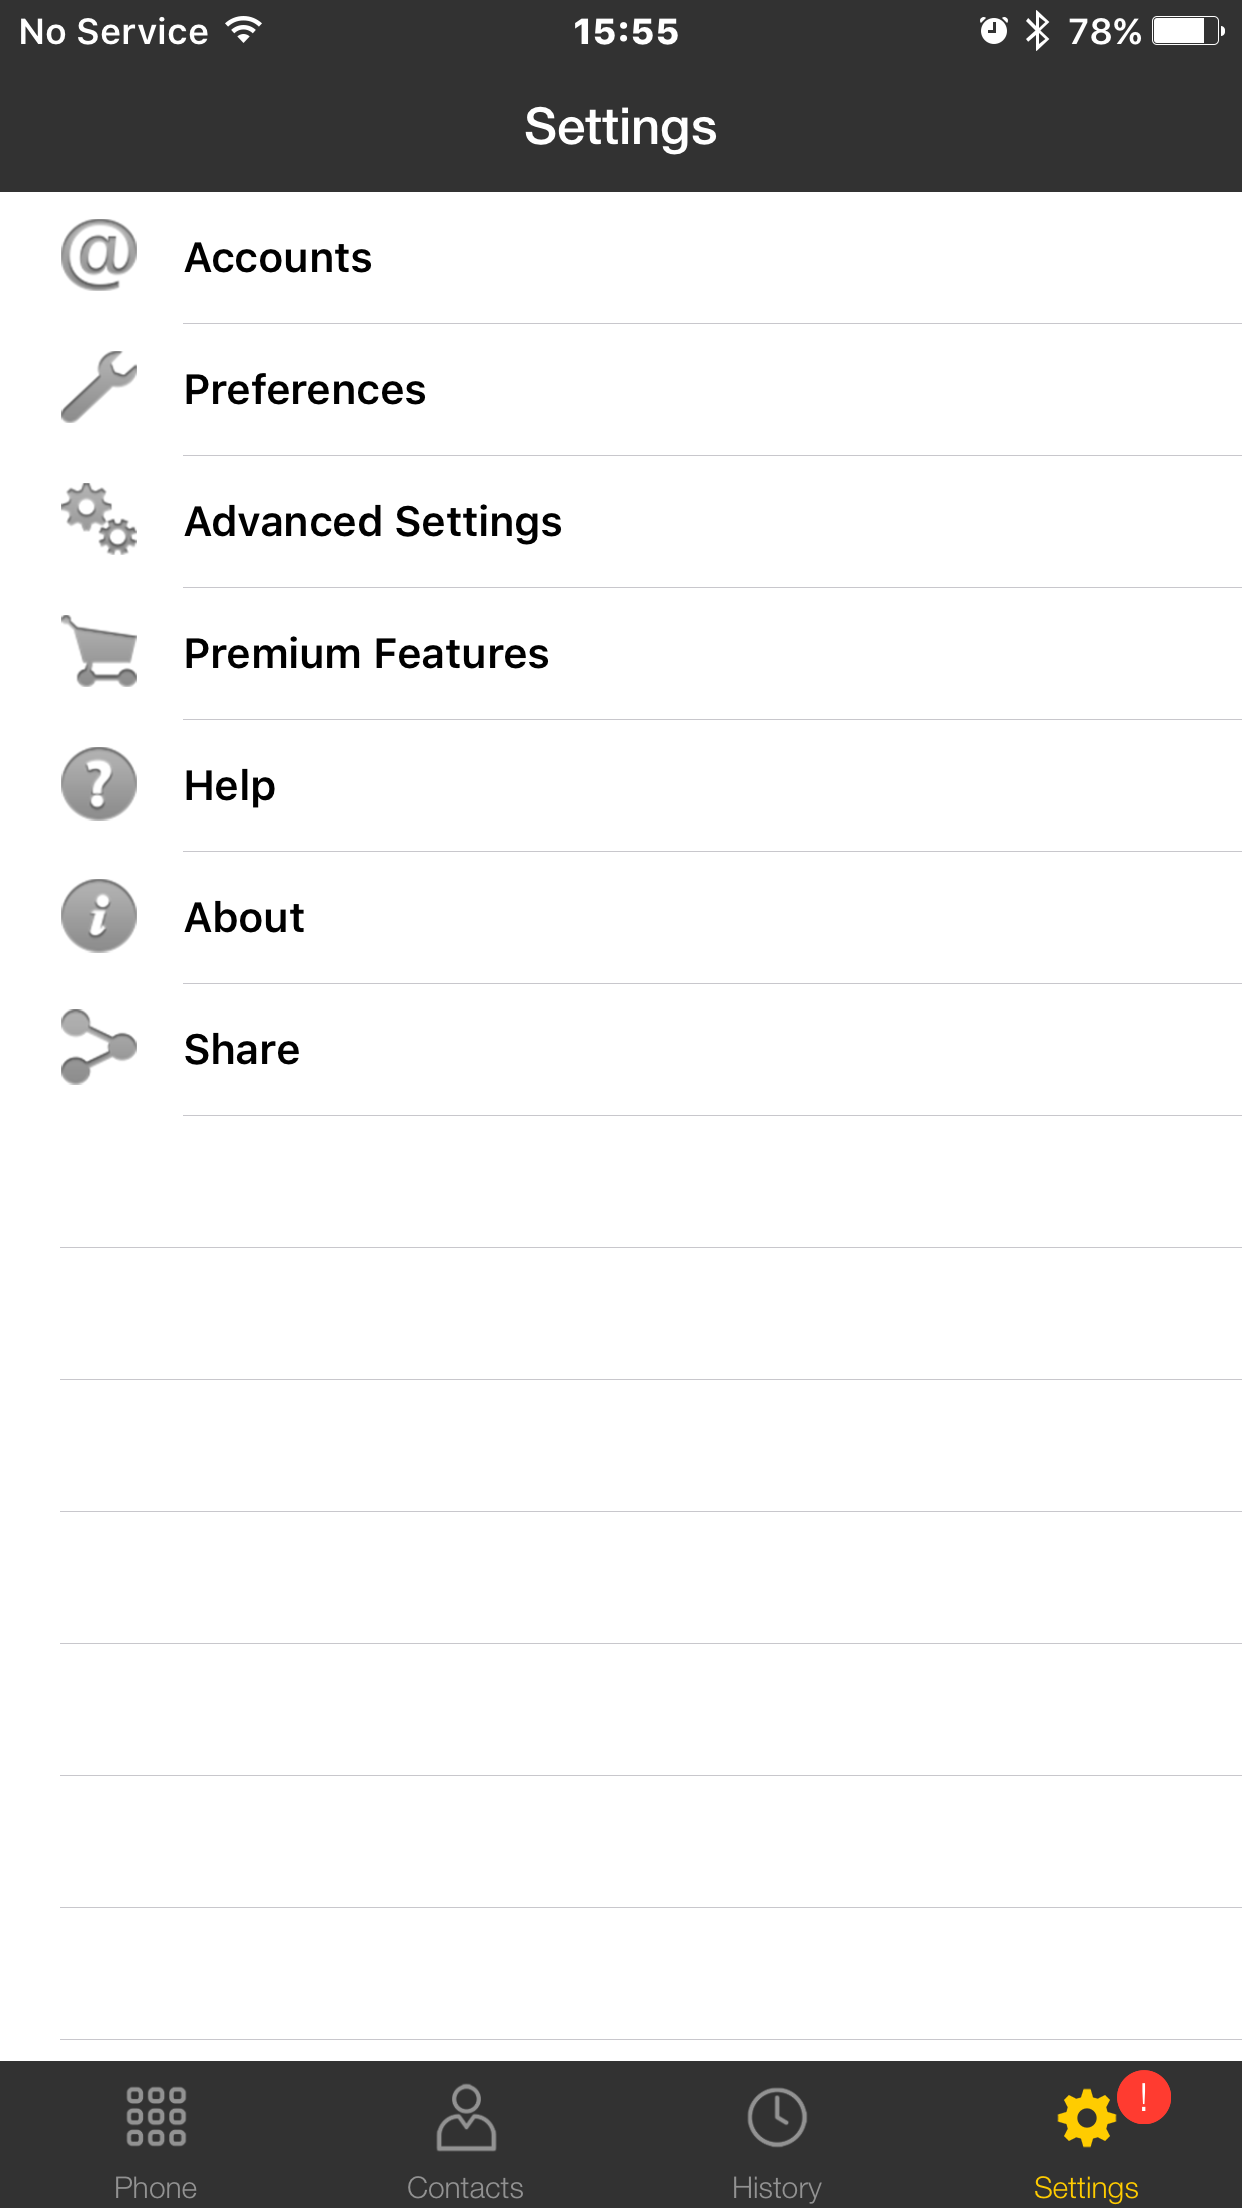
3. Tap the '+' button.
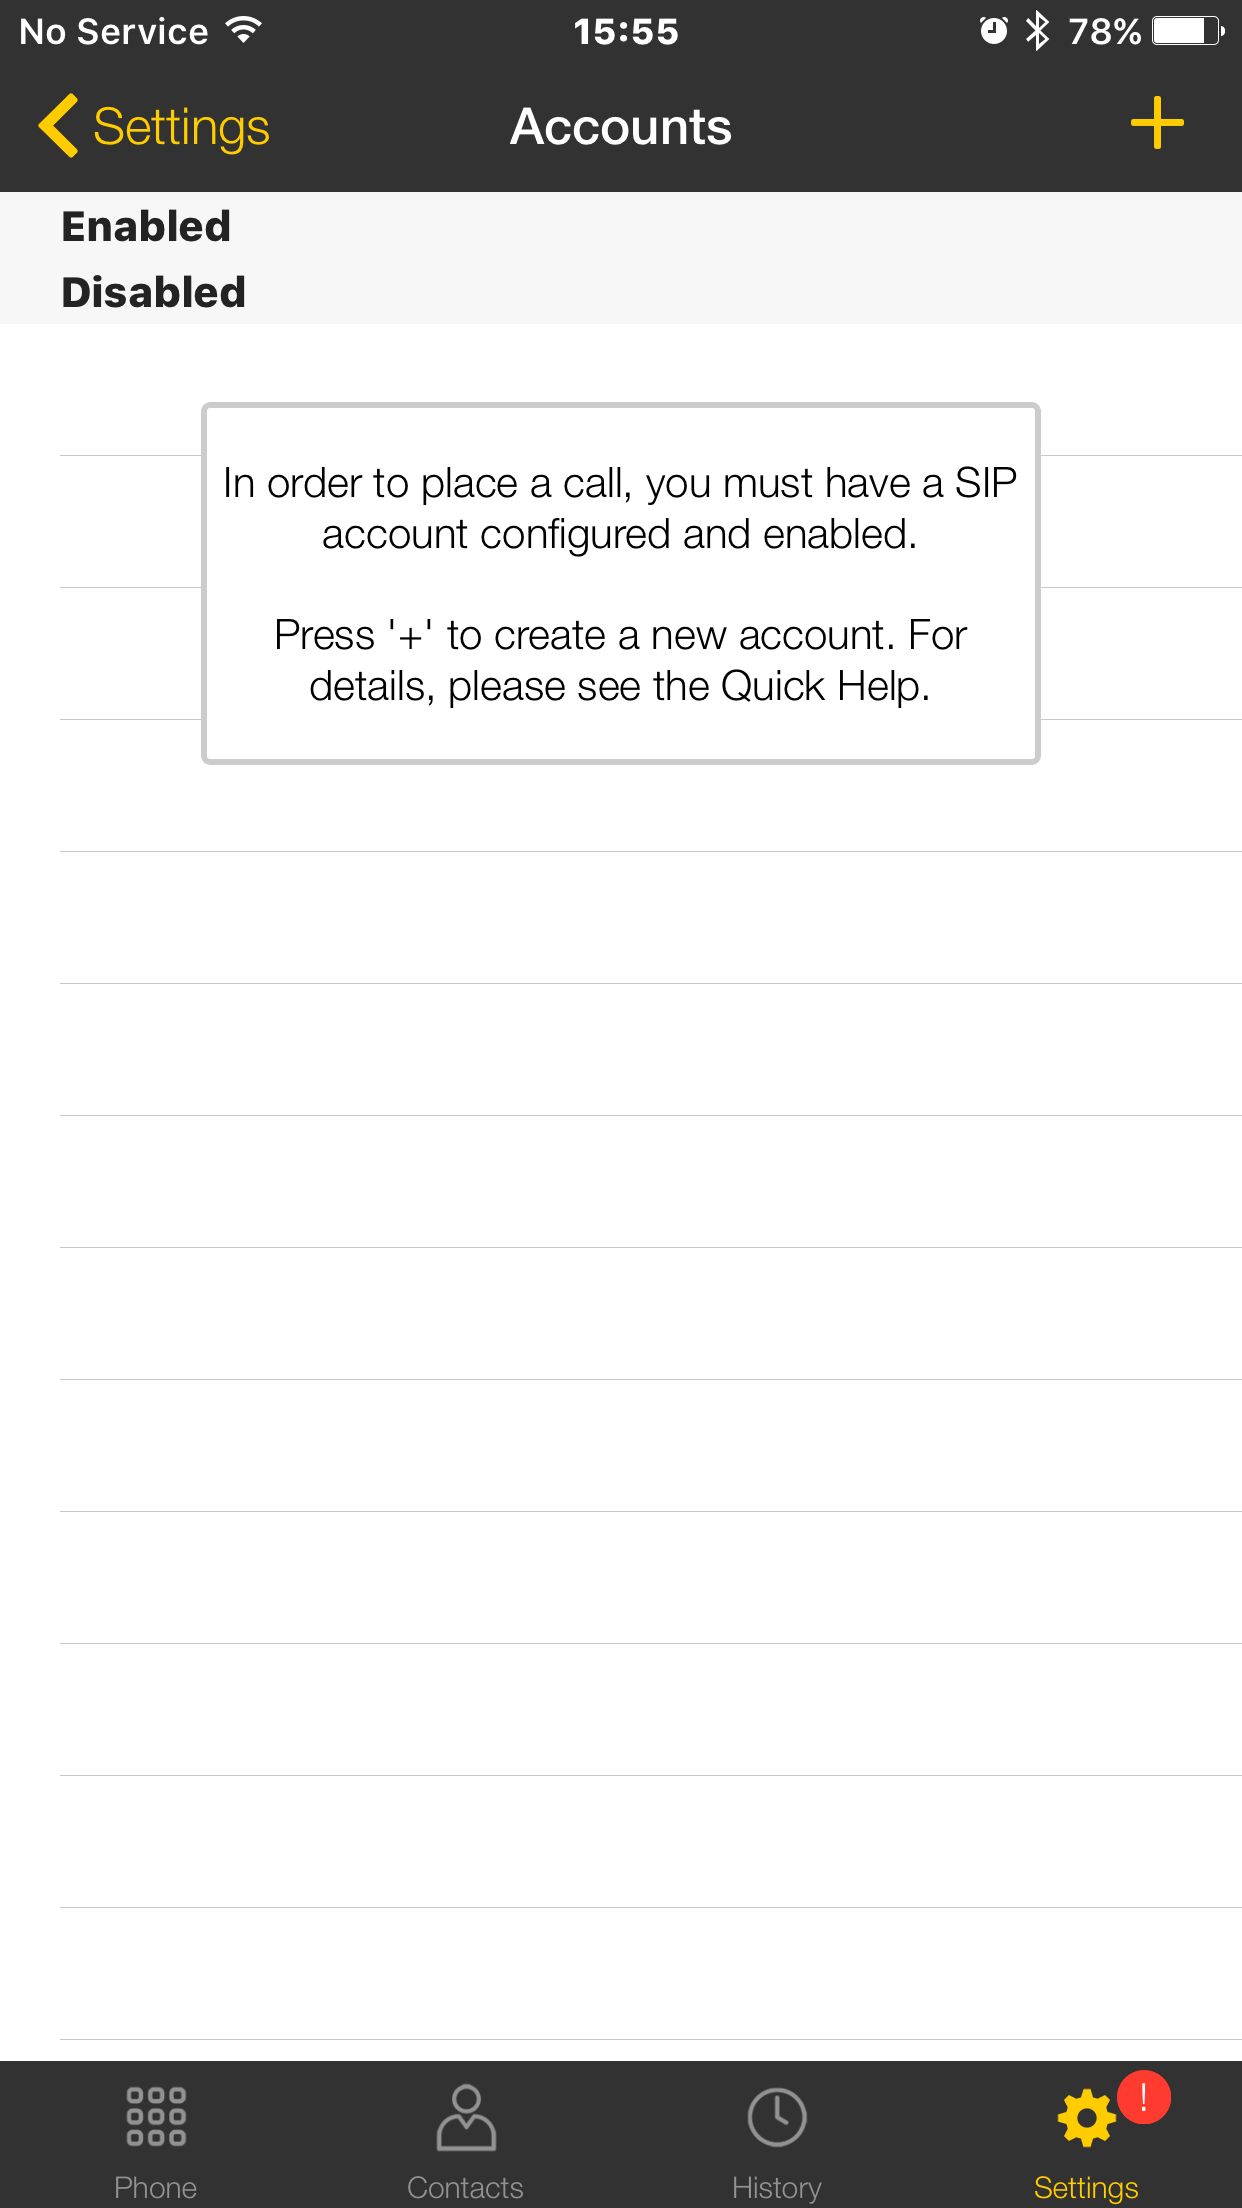
4. Select 'VoIP (SIP) - Calling' as the account type.
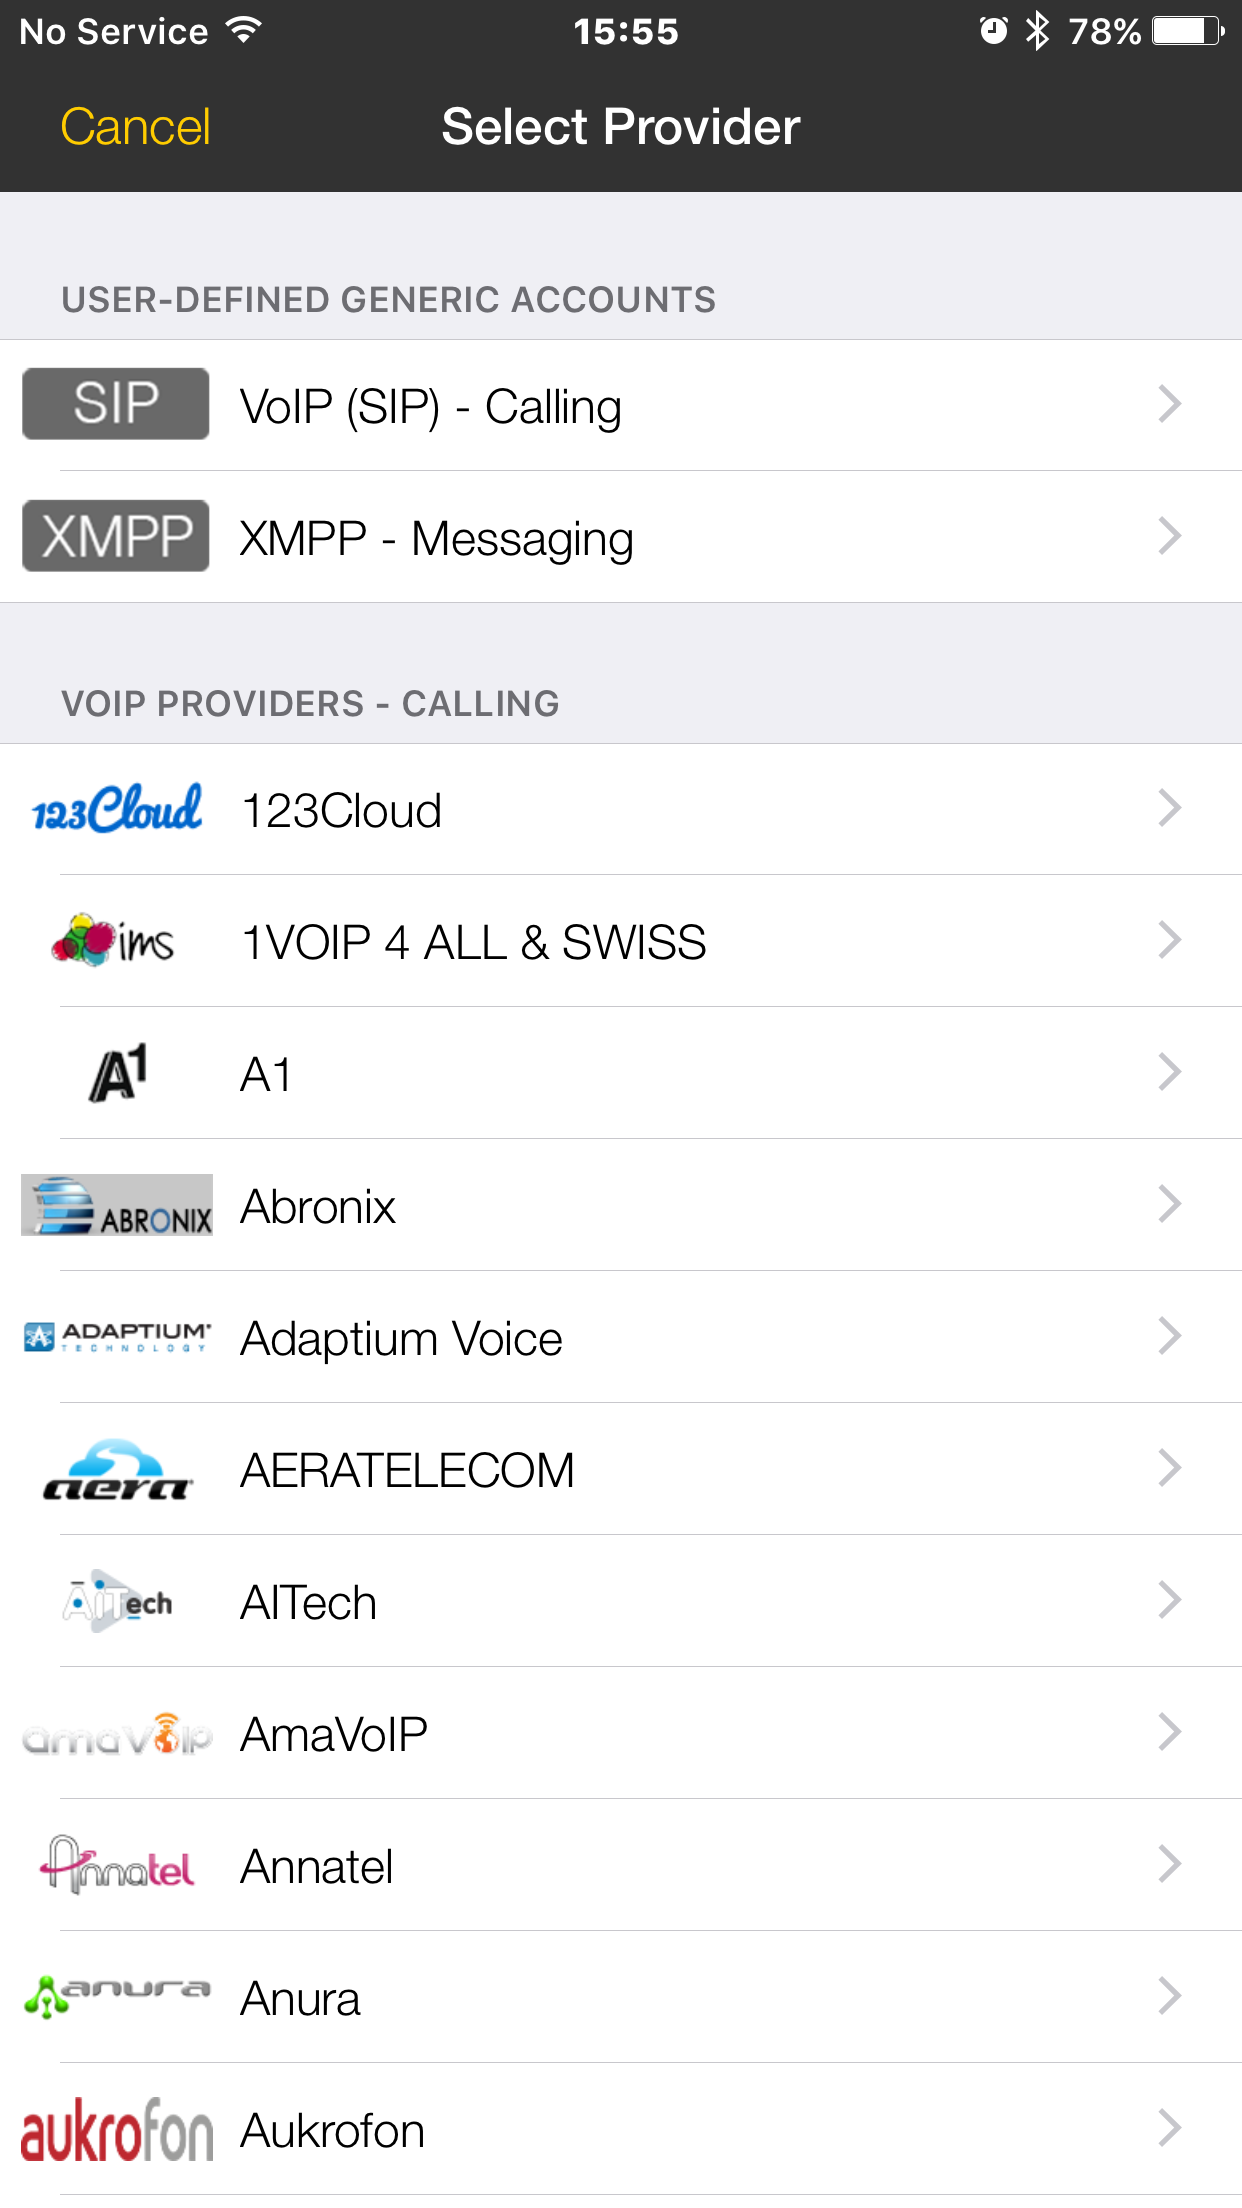
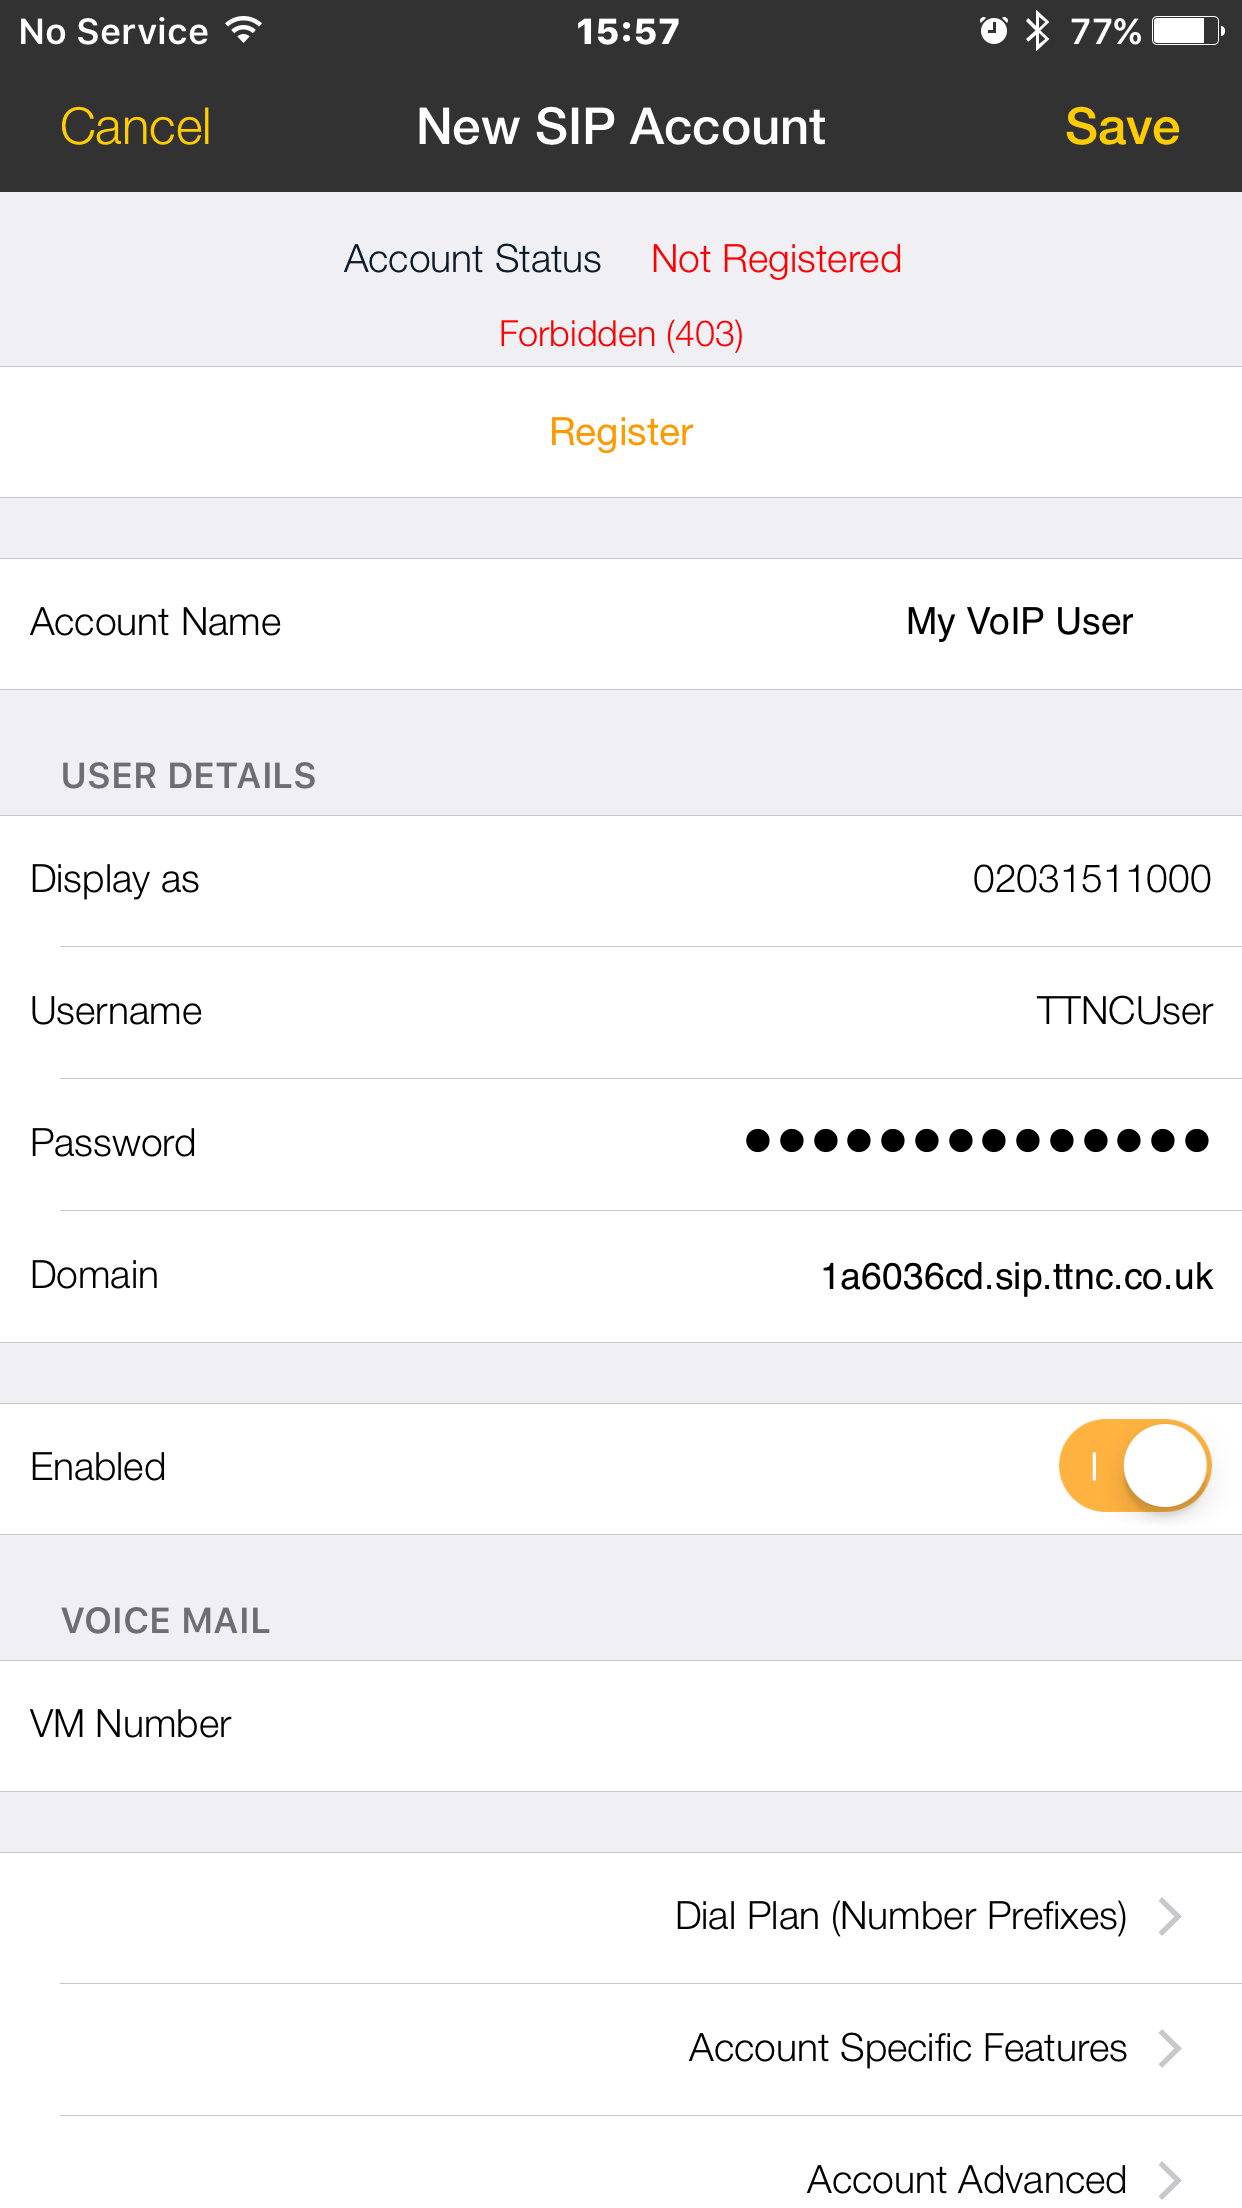
5. In the 'Account name' field, enter a description for your VoIP User. Use the credentials of your VoIP User to fill out the 'Username', 'Password', 'Domain' (these are all case sensitive) and 'Display as'.
6. Turn on 'Enabled' and tap the 'Register' button to save the configuration.
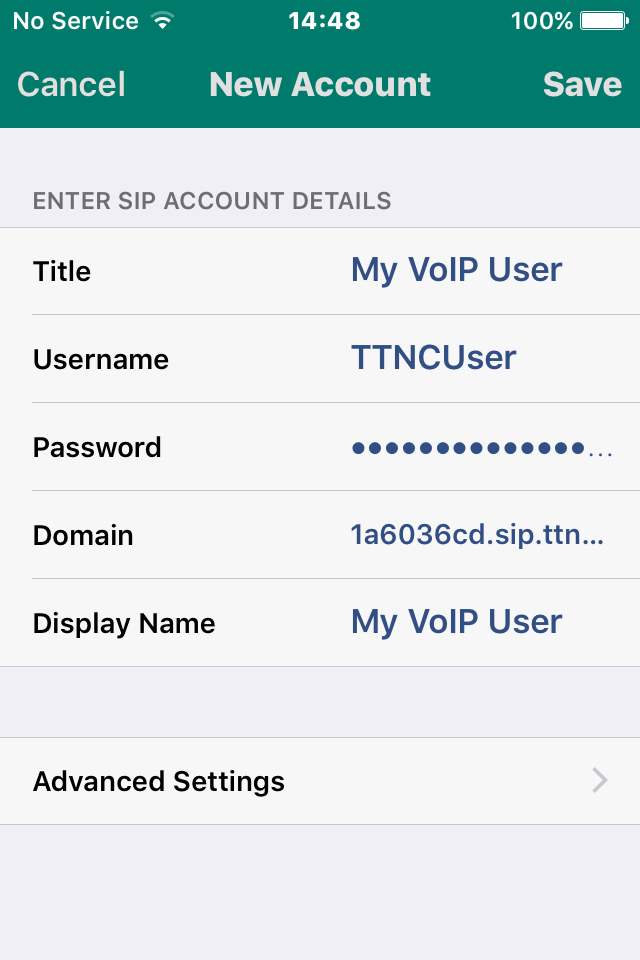
Acrobits
Download Acrobits for Android
Follow the guide below to get up and running with the Acrobits application:
1. Download, install and launch Acrobits.
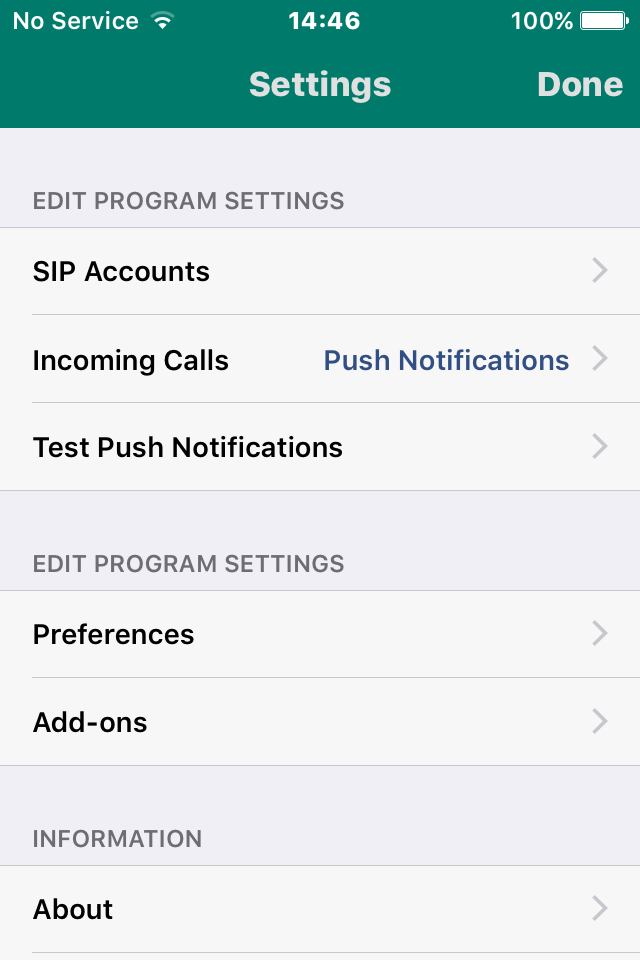
2. Click the 'Settings' button.
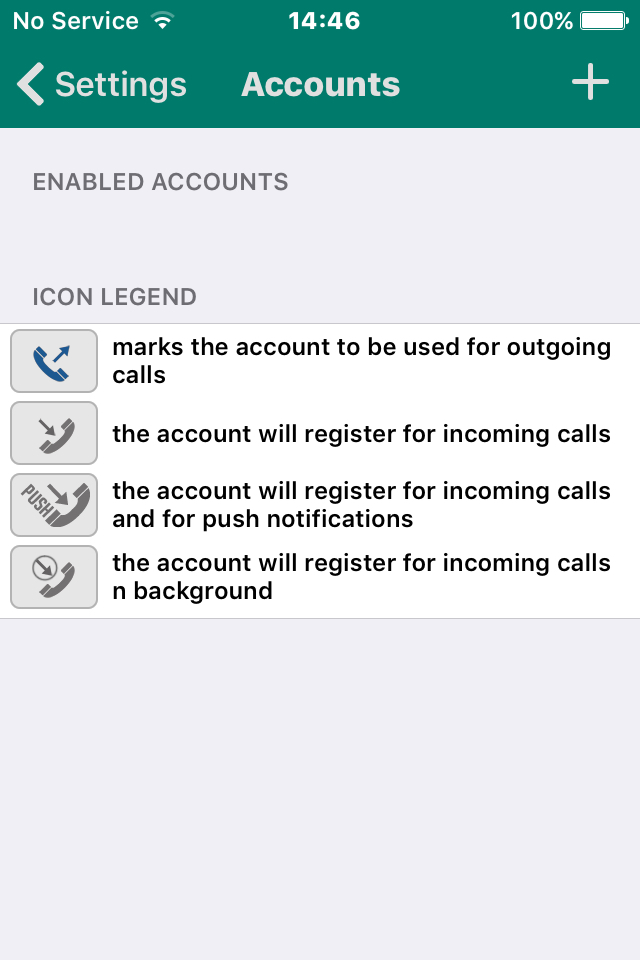
3. Tap the 'SIP Accounts' button.
4. Tap the '+' button.
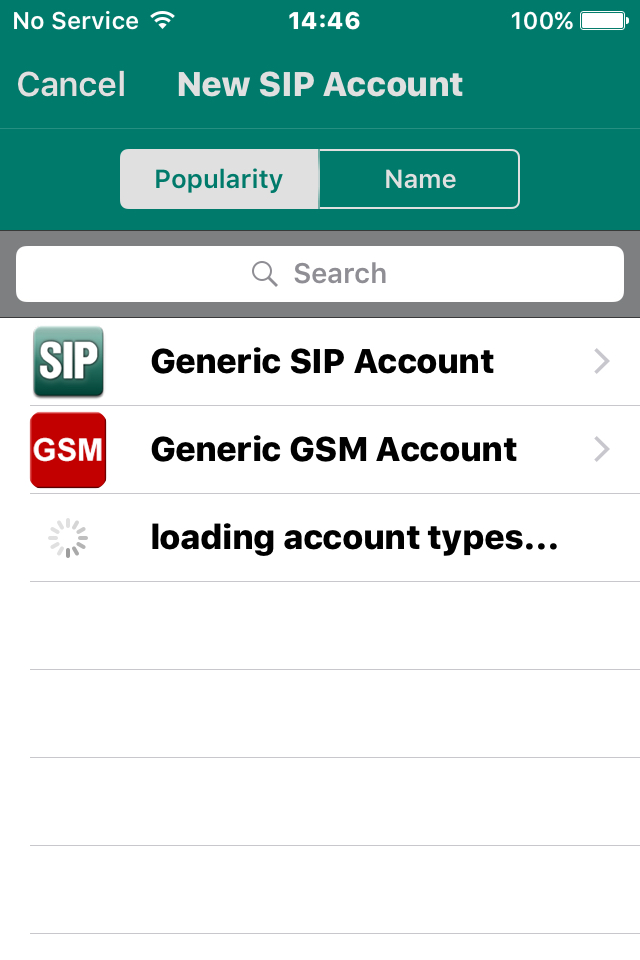
5. Select 'Generic SIP Account' from the list.
6. In the 'Title' field, enter a description for your VoIP User. Use the credentials of your VoIP User to fill out the 'Username', 'Password', Domain (these are all case sensitive) and 'Display Name' then click 'Save'.